




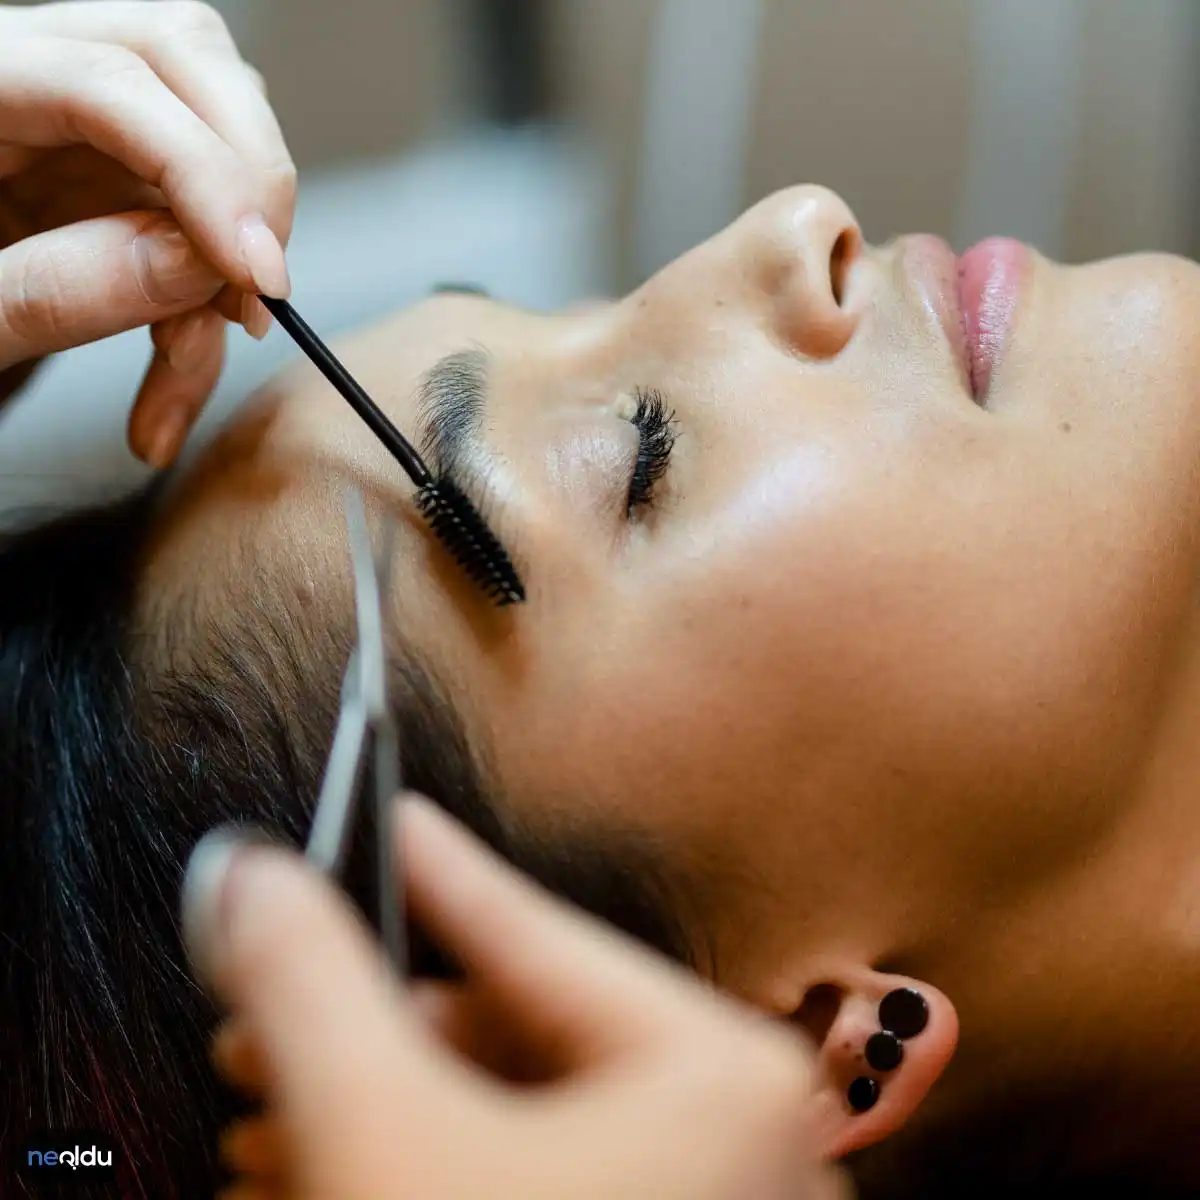
Your brows do more than frame your eyes. They set the tone. A sharp arch can make you look fierce. A softer curve says you’re approachable. But when the shape is off, it feels like your face is lying to you. You might look angry when you’re not, or tired when you’re fresh. That’s why nailing your brow shape matters, but it isn’t as easy as grabbing a razor and hoping for the best.
Why Brow Shape Changes Your Whole Face
Think of your face as a canvas. Your brows are the horizon line. If that line is uneven or misplaced, the rest of the picture feels off. Well-shaped brows add symmetry. They balance out your features. They highlight what is already there.
Most people struggle because they don’t know their natural shape. They try to copy a celebrity or a trend they saw online. That rarely works. Your bone structure is different. Your eye size is different. The goal isn’t to copy someone else. It is to enhance what you have.
How to Find Your Natural Brow Shape
You don’t need expensive tools to start. You need a pencil and a mirror. This simple trick helps you map out the start, peak, and tail of your brow.
- Start Point: Hold a pencil vertically against the bridge of your nose. The line where it touches your nose should align with where your brow begins.
- Peak Point: Tilt the pencil so it points from the bridge of your nose through the center of your iris. The point where it crosses your brow bone is your highest point.
- Tail Point: Keep the pencil tilted, but this time aim it from the bridge of your nose through the outer corner of your eye. That is where your brow should end.
“The best brow shape is the one that follows your natural bone structure, not the one that fights it.”
If you pluck outside these lines, you might be removing hair you should keep. If you fill in inside these lines, you might be masking a natural fullness that would look great as is.
Which Tools Do You Actually Need?
You don’t need a spa appointment to start. A pair of tweezers, a small spoolie brush, and a mirror are enough to begin. Many people think they need a laser or a waxing kit, but at home, manual removal is safer for beginners. You control the speed. You see exactly what you are doing.
A small trimmer is helpful if your brows are very long or unruly. Trimming shortens the hair above the brow line to keep things clean. Tweezers remove the stray hairs below the arch and inside the brow. Use them carefully. Pull in the direction of hair growth to avoid ingrown hairs.
Common Mistakes That Ruin Your Brows
The biggest error is over-plucking. It happens fast. One stray hair, then another, then suddenly the arch is gone. Another common mistake is following a shape that doesn’t fit your face type. A very high arch can look unnatural on a round face. A flat, straight brow might look severe on a heart-shaped face.
Also, don’t ignore your hair color. If you have dark hair and light skin, your brows will be very prominent.
Why Your Brows Are the Makeup Step That Makes or Breaks Your Face
Let’s be honest: bad brow shaping ruins everything. It’s not just about plucking a few stray hairs. It’s about respecting the architecture of your face. Mess up the arch, and you’re not getting a polished look. You’re getting a face that looks like it was pulled in two directions. The goal isn’t to create a completely new shape. It’s to highlight what’s already there.
How to Map Your Natural Brow Shape Without Guessing
Stop guessing where your brows should end. Seriously. Use a pencil or a ruler. Align it with the bridge of your nose to find your start point. Extend it past your nose to find your tail. That’s your map. If you ignore this, you’ll likely over-pluck the tail or leave the head too heavy. Check your face shape first. Round faces benefit from a defined arch to add structure. Long faces look better with a flatter, more horizontal shape to shorten the illusion. Don’t force a shape that fights your bone structure.
Why Brushing Up Changes Everything Before You Touch a Tweezer
Most people skip this. Big mistake. Take a spoolie and brush your hairs upward. This reveals the true density and direction of your growth. You’ll see exactly where the gaps are and where the natural tail starts. If you pluck without this step, you’re working blind. You might remove hairs that actually support your arch. Brush up. Look in the mirror. Then decide what to take out.
Which Tools Actually Matter: Scissors, Tweezers, and Pencils
You don’t need a $50 kit. You need precision.
– Tweezers: For removing stray hairs below the brow line and between the brows. Go slow. One hair at a time.
– Scissors: If you have very long, bushy brows, trim them first. Hold the hairs vertically with the spoolie and snip the excess. Don’t cut horizontally. It looks messy.
– Brow Pencil or Powder: This is for filling, not creating. Match your natural hair color exactly. If you have dark brows, go one shade lighter. It looks more natural than a stark black match.
How to Fill Gaps Without Looking Drawn-On
This is where most DIY attempts fail. You don’t want a solid block of color. You want hair-like strokes. Use short, feathery motions. Start from the back and work forward. Apply light pressure. Build up slowly. If you can see the line where the product started, you’ve overdone it. Step back. Check it from a distance. It should look like you have more hair, not like you wore a mask.
Why You Might Need a Professional, Even If You Think You’re Good
Here is the hard truth: symmetry is hard. One side is almost never exactly like the other. A professional can spot the imbalance instantly. If you’re unsure, or if your brows are very sparse or very thick, go to a specialist for a mapping session. You don’t need to go every week. But getting the shape right once can save you months of bad at-home maintenance. Your face is yours. Treat the brows with respect.
“The goal isn’t to create a completely new shape. It’s to highlight what
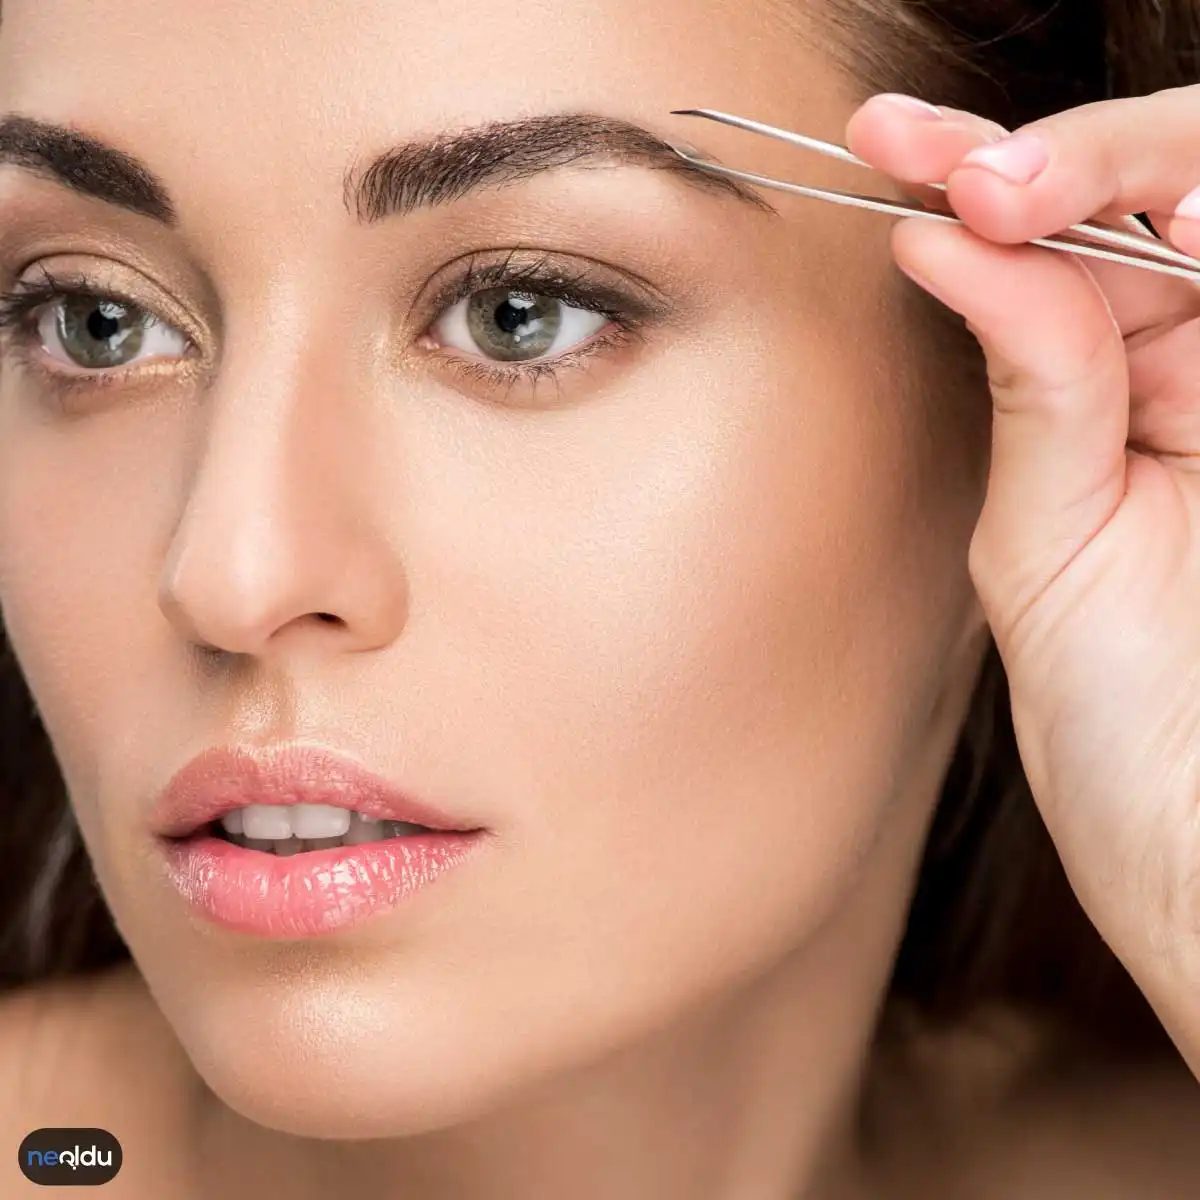
Kaş Şekillendirme: Yüzün Odak Noktasını Doğru Kurgulamak
Kaşlar, yüzün mimarisini değiştiren en hızlı yol. Bir bakışın ağırlığını, gözlerin ifadesini ve hatta genel yüz simetrisini belirleyen o ince çizgiler. Ancak bu çizgilerin “doğru” olması, estetik bir tercih değil, anatomik bir denge meselesi. Yanlış yapılan bir şekillendirme, yüz hatlarını bozar; doğru yapılan bir işlem ise göz kamaştırıcı bir netlik sağlar.
İşlem basit görünür ama detayda gizli tuzaklar var. Tıraşlama, cımbız, ağda, iple alma ve kaş kalemi… Hangisini seçtiğiniz, kıl yapınıza ve istediğiniz kalıcılığa bağlı. Cımbız hassas noktalarda tek tek çalışırken, ağda daha geniş alanları hızlıca ele alır. İple alma yöntemi ise daha uzun ömürlü bir sonuç vadeder, çünkü köküyle birlikte çıkar. Ama hepsinin bir riski var: Aşırılık. Fazla kıl almak, kaşların doğal kemerini kırar. Bu da yüzü yorgun veya dengesiz gösterir.
Kaş Bakımının Süresi ve Sıklığı Nasıl Olmalı?
Kaş şekillendirme işlemi ne kadar sürer, ne sıklıkla tekrarlanmalı? Bu, cildin ve tüylerin büyüme hızına göre değişir. Genel olarak bir seans 15-30 dakika arasında sürer. Sıklığı ise yönteme göre şekillenir. Cımbızla alanlar genelde 2-3 haftada bir bakıma ihtiyaç duyar. Ağda veya iple alma yaptırıldığında bu süre 4-6 haftaya uzayabilir.
Kıl yapısı da önemli. İnce telli kıl daha hızlı uzar, bu yüzden bakımlar daha sık olur. Kalın ve sert telli kıl ise daha yavaş büyür, bu da randevular arasındaki açığı uzatır. Düzenli bakım, kaşların dağınık görünmesini engeller ve doğal hatların korunmasını sağlar.
Kaş şekli, yüzün matematiksel denge noktasıdır. Bir milimetrelik fark, ifadenin tamamen değişmesine neden olabilir.
Yöntem Seçimi: Hangi Durumda Hangi Teknik?
Her yüz tipi aynı yönteme uygun değildir. Hassas ciltte ağda tahriş edici olabilir, bu durumda cımbız veya iplik daha güvenli bir tercih. Hızlı sonuç arayanlar için tıraşlama pratik bir çözümdür, ama kalıcılığı düşüktür ve kıl köküne zarar verme riski taşır.
Kaş kalemi ise şekillendirme değil, tamamlama aracıdır. Boşlukları doldurmak, kaşı optik olarak kalınlaştırmak için kullanılır. Asıl şekli vermek için önce fiziksel müdahale gerekir. Kalemi, mevcut yapınızı destekleyecek şekilde kullanın, yoksa yapay bir görünüm

How long does the appointment actually take?
Fifteen to thirty minutes. That is the standard window. But your brow structure and the method chosen will shift that number.
Shaving or waxing moves faster. Tweezing and threading take a bit longer because every hair is pulled individually. If you are sitting in the chair wondering how much time you lost, it usually comes down to the technique.
How often should you really come back?
Two to four weeks. That is the sweet spot for most people. Hair growth varies, so if your brows fill in fast, you might need to touch up sooner. Some women prefer to let them grow out more, and that is totally fine. It is a personal preference.
Getting the shape wrong messes up your facial symmetry.
Why the professional matters more than the timer
You can have the perfect timing and still end up with lopsided brows if the person doing the work lacks skill. A reliable professional keeps your face balanced. They check the angle, the tail, and the arch. They do not rush. You want someone who treats your eyebrows like a mapping project, not a speed run.
What to do right after you leave
The skin is sensitive. Treat it gently. Avoid heavy makeup on the brow area for the first few hours. If you used wax or threading, your pores are open. A light, fragrance-free moisturizer helps calm the area. Skip the scrubbing for a day or two. Let the skin settle. If you notice redness that does not fade, that is a sign to pause and reassess your routine.
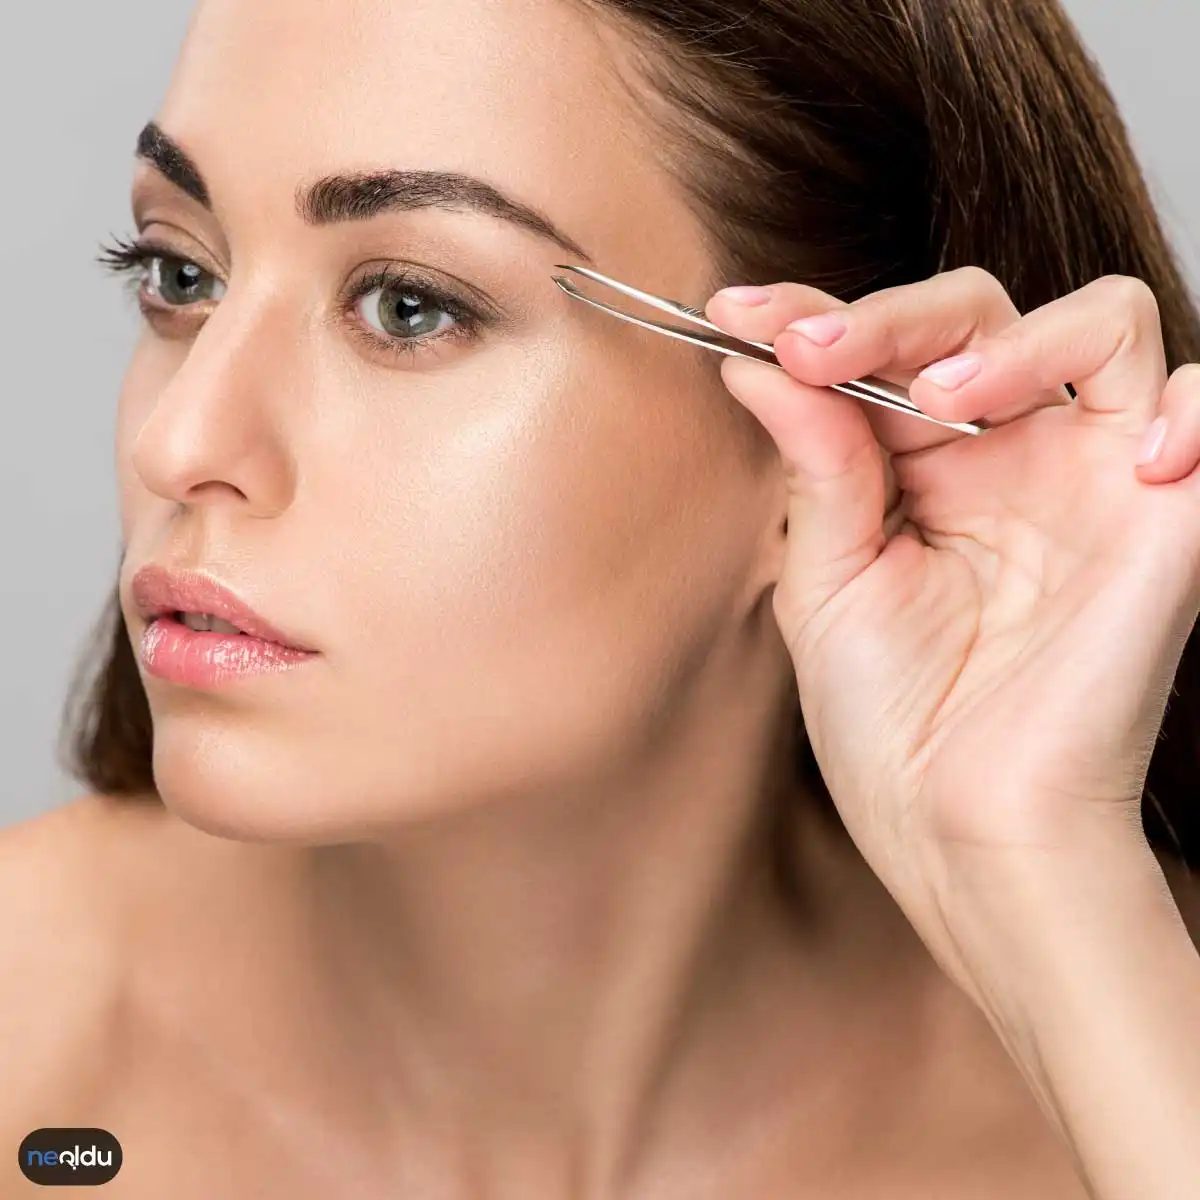
How to keep your brows lasting longer after shaping
Your skin is likely sensitive right after a shaping session. Give it time. Do not touch the area for at least several hours. Let it breathe.
You might notice slight redness or irritation. This is normal. It usually fades on its own within a few hours. If the irritation persists or looks severe, see a doctor. Don’t ignore it.
Regrowth takes a few weeks. New hairs will emerge. Do not pluck them aggressively. Cut or tweeze gently. Tugging at new growth can distort your arch over time.
Hydrate the area. Apply a lightweight moisturizer carefully to maintain the natural shape. Avoid heavy creams that might clog pores near the brow line.
Consistency matters. Most people need a touch-up every two to four weeks. Your specific timeline depends on your hair growth rate. Stick to your schedule to maintain the defined look.
How to determine the right brow shape for your face
Start by analyzing your face shape. Oval, square, round, or heart-shaped faces each have ideal brow arches. Consider the distance between your brows and their natural height.
Measure the gap between your eyes. This helps align your inner brow point. Map out where the arch should peak relative to your iris. This foundational step ensures the shape complements your features rather than clashing with them.
How to fill in gaps in your eyebrows naturally
Use a brow pencil or powder for a seamless look. Light touches work best. Build up color gradually rather than applying heavy strokes.
Brow powder adds volume and a soft, matte finish. Sweep it into sparse areas. Blend with a spoolie for a feathery effect. Avoid harsh lines. The goal is to mimic natural hair strokes, not draw a cartoonish shape.
How to make eyebrows look natural every day
Less is more. Apply minimal product. Over-application creates a blocky, unnatural appearance. Choose a shade that matches your natural brow color or is one shade darker for definition.
Skip harsh brow dyes if you want a soft look. Instead, use a shadow or tint that blends with your existing hair. This approach preserves the texture and direction of your natural growth pattern.
Keep it simple. Let your brow shape do the work. Subtle enhancement beats dramatic makeup.